Cleaning moss off your roof is rarely fun—but it’s necessary. While overhead greenery can add a rural effect to your home, moss is quite damaging to shingles and can limit the longevity of your roof, costing you time and money
Some people choose to seek professional roof moss removal services, while others may attempt to remove it on their own. Alternatively, some choose to repair or replace their roofs entirely.
This guide includes everything you need to know about roof moss treatment—from getting it off to keeping it off.
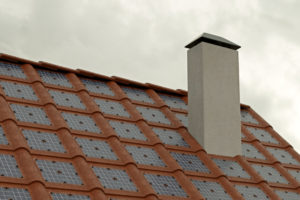
What Is Roof Moss and Why Remove It?
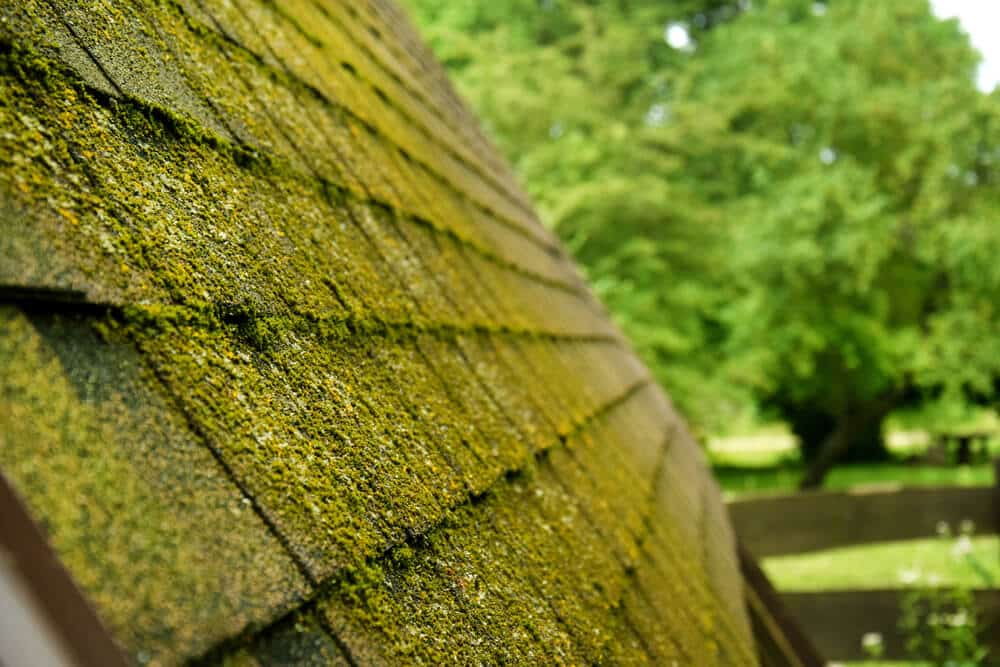
There are many different types of roof moss, but they all pose the same challenges to the structure and integrity of your home. Mosses often grow in dry, nutrient-free environments like rooftops because, unlike other plants, they do not gather water from roots.
Mosses soak up water like sponges and hold onto it to create a consistent source of hydration. This means that mosses will prevent drainage from your roof, causing moisture-related problems. Moss also tends to grow into and under shingles, causing them to lift and introduce water into your home.
How to Spot Roof Moss
There are several ways to determine if you have moss on your roof. First, you can look for telltale green tufts on your shingles. Moss can also appear yellow, gray, or brown. If you have water damage inside your home, consider taking a closer look at your roof, as this could indicate moss. Consider conducting routine roof inspections to check for any loss or damage.
When to Consider Roof Moss Removal
Mosses tend to grow together and propagate, so you should remove moss from your shingles upon noticing the problem. Even if the moss appears dead, consider removing it or hiring an expert since moss can dry out and between rainfall episodes—only to rehydrate and grow again.
How to Remove Moss From Your Roof Shingles
There are several ways to remove moss from your shingles. The most effective way to remove moss is to use roof moss killer products, but many people prefer to pressure wash or scrub moss off of their shingles since chemicals may pose a personal and environmental danger.
Ultimately, the method you use will depend entirely on your comfort level. Use the steps below to guide your roof moss removal process, making adjustments as necessary.
Project Overview
For this project, you’ll need to acquire tools and materials and set aside a day to complete your moss removal process.
Removing moss from your roof shingles will likely take between three and four hours, so plan accordingly. Experts recommend saving this project for an overcast morning or afternoon when your roof is unlikely to get much direct sun. This ensures your comfort and allows your product (if you use one) to sink into the moss without evaporating.
You can expect to spend between $50 and 75 on supplies for the roof moss removal process. You will need the following:
- Roof moss removal product
- Safety goggles or sunglasses
- Rubber or latex gloves
- Work clothes
- A large spraying bottle
- Garden hose or power washer
- Scrub brush
- A safety rope
- A ladder
- Plastic tarps or sheets
Preparation
You’ll only need a half hour to prepare. Remember to choose an overcast day, as this can help ensure the cleaning fluid penetrates the surface of the moss.
If you plan to make your moss removal fluid, you can mix one quart of bleach with a gallon of water and a quarter of a cup of non-ammonia-based cleaner. Alternatively, mix eight ounces of dish soap with half a cup of white v vinegar and two gallons of water. Pour your mixture into the spray bottle.
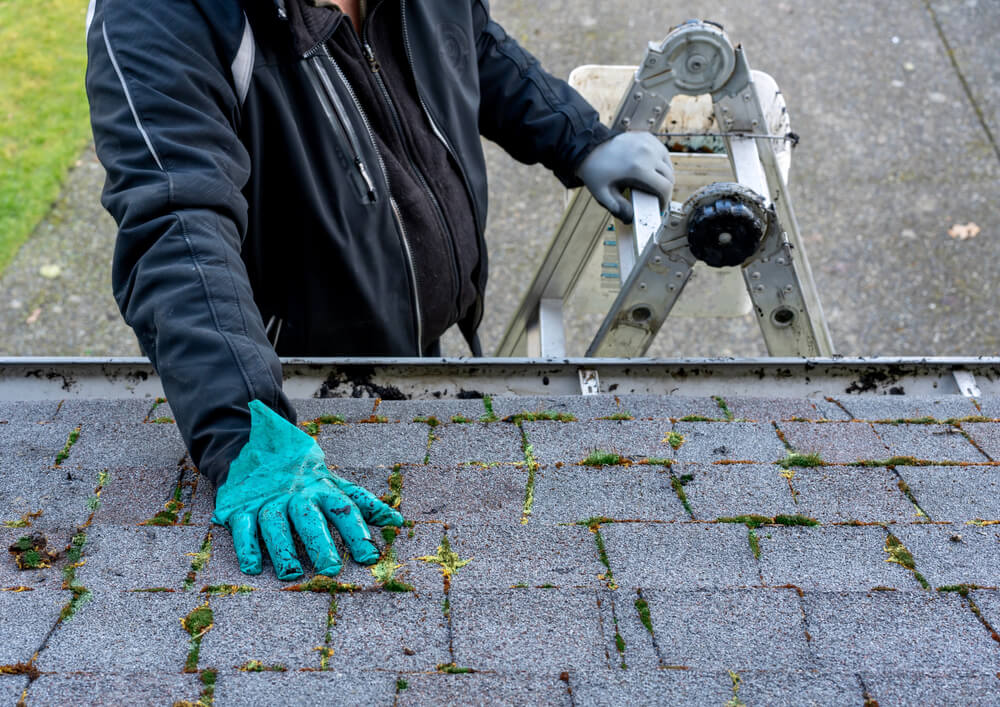
Put on your work clothes and protect your eyes, fingers, and hair. If you use a chemical product, wear gloves and goggles if possible. Set up your ladder. Work with another person who can spot you. Lastly, cover your plants with plastic tarps to protect them from stray chemicals. Climb your ladder with your hose and prepare to get started!
Roof Moss Removal in Five Steps
Follow these five steps to complete your roof moss removal process.
Step 1: Clean Your Roof With Water
First, spray all moss-covered sections of your roof with hose water. You should begin at the top of the roof and move down to avoid lifting or shattering your shingles. Also, spray at a downward angle, which will help prevent your shingles from falling off the roof.
Step 2: Scrub Your Shingles
Use your brush to remove the moss from your roof. Start at the top again and work your way down. You can also manually tug moss springs long enough to remove them by hand. Remember not to scour or scrub too hard, as you could crack or tear your shingles from the roof.
If you use a pressure washer, use it on the lowest setting. Some professionals advise against using a power washer, so use it at your discretion.
Step 3: Apply the Moss Removal Product
Bring your cleaning product up to the top of the roof. Using the above directions, you can use a store-bought product or make your own. Apply the cleanser thoroughly across the entire roof—even surfaces without moss.
Step 4: Wait
Wait 20 to 45 minutes for the product to sit.
Step 5: Brush and Rinse
Once you are ready, lightly brush the remaining moss from the singles. It should come off quickly. Rinse your roof off with the hose. Remember to start at the top again and work your way downward.
How to Prevent Moss From Growing
Once you have cleared the moss from your roof, you should take measures to prevent future growth. You can do so by installing a metal roof instead of using shingles.
A copper or zinc roof will likely prevent moss from growing. While copper is more effective, zinc is less expensive. You can install metal paneling on your roof yourself, or you can hire an expert to install a metal roof for you.
Avoid the Process Entirely
Now that you know how to remove your roof moss, consider taking long-term precautions. A metal roof can save you time and money over the long run and prevent you from having to learn the roof moss removal process. Contact Perfect Exteriors today to speak with one of our experts.